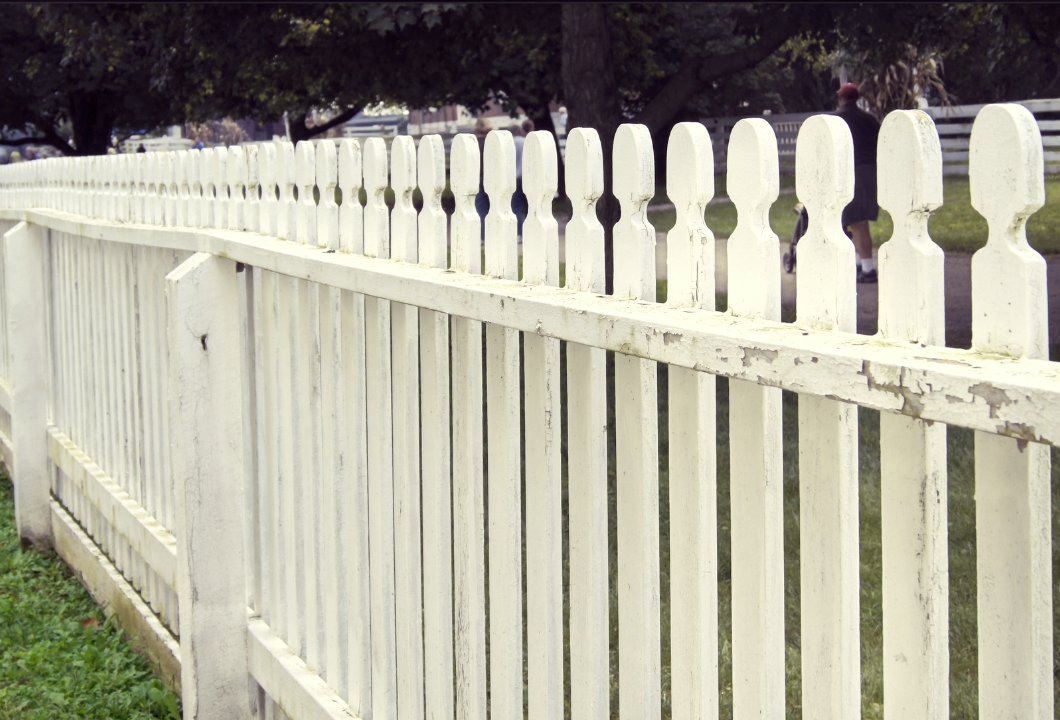
A fence is a great way to add privacy, security, and style to your home. Wood fence installation requires careful planning to ensure durability and style. It can make your yard safer for kids and pets while also increasing your property’s value. With so many options available, you can find one that fits your budget and matches your style.
This guide will show you how to install a wood privacy fence, but we’ll also talk about other types of fences you might like!
Table of Contents
Before you get started
Before installing a wooden fence, talk to your neighbors, especially those who share a property line with you. Some communities even require written permission from adjacent neighbors before you can start building.
Check your house title documents to see if there are any easements (shared access areas) under where you plan to put the fence.
Also, many areas require a building permit for a wood fence. Be sure to follow local rules on fence height (usually around 6 feet, but it can vary) and how far it needs to be from the property line.

1. Follow neighborhood regulations.
Before you start building a fence, make sure you’re actually allowed to! If you build one without approval, you could get fined or even have to take it down. Check your local rules or homeowner’s association guidelines to see what’s allowed.
If your fence will be on a shared property line, it’s a good idea to talk to your neighbor. They might be open to splitting the cost with you!
2. Examine City Rules
Before building a wooden fence, check your city’s rules. Many cities have specific regulations, and some require permits. In some places, you’ll need a permit no matter the height, while others only require one for taller fences. There might also be restrictions on materials, styles, or placement. Ignoring these rules could lead to fines or having to take the fence down. To avoid any trouble, visit your city’s website or call the local office to find out what’s allowed. Taking a little time to check now can save you a lot of hassle later!
3. Secure a Permit
If you need a permit, make sure to get one before starting your project. Permits usually come with a small fee and can be obtained from your local City Hall or Planning Department. It’s always a good idea to check the rules before you begin to avoid any issues later. Also, if your project involves digging, call 811 first to reach the Digline. This helps ensure you don’t hit any underground utility lines, keeping you and your neighborhood safe. Taking these steps ahead of time can save you from fines, delays, or unexpected problems down the road.
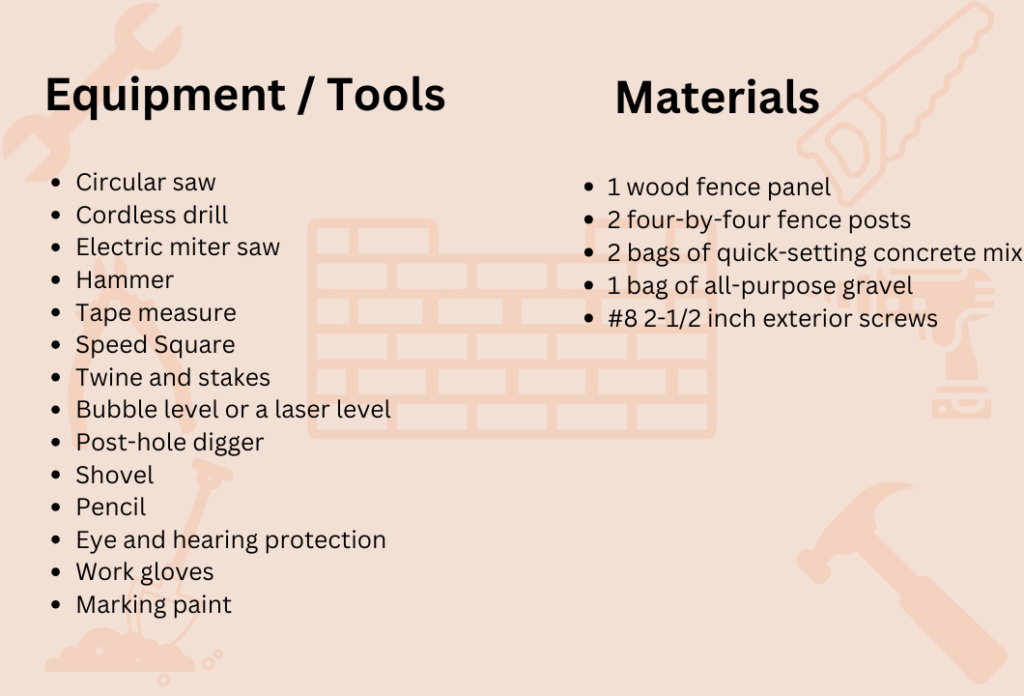
4. Pick Your Supplies
Choosing the right fence is important, and there are many options to consider. Different materials come with their own pros and cons, so think about what works best for you. Ask yourself: How much maintenance are you willing to do? What’s your budget? And how long do you need the fence to last? Some fences are easy to take care of but cost more upfront, while others might be cheaper but need more upkeep over time. Taking the time to plan ahead will help you pick a fence that fits your needs, looks great, and works well for your space.
Set Up the Posts
1) Locate Post Positions
Use string and stakes to outline where your wood fence will go. Mark the corners and decide where any extra posts should be placed. You can choose how far apart the posts are, but a common spacing is about 8 feet (2.4 meters) from the center of one post to the next. Once you’ve planned everything, mark each spot with spray paint or by making small holes in the ground.
2) Dig Holes for Posts
Before setting up your wood fence, dig holes that are about 1/4 to 1/3 of the fence’s height. Check your permit for any specific depth requirements—many cities have rules about this. You definitely don’t want to hit a water main!
Always call 811 before digging to check for underground utilities. Most water mains are buried at least 4 feet deep, so a 16 to 24-inch hole is usually safe.
You can dig by hand with a post-hole digger or use a motorized auger. If you don’t have one, you can usually rent them from a hardware store nearby.
3) Position the gravel.
Add a few inches of gravel at the bottom of the hole. This helps water drain away so the posts don’t stay wet and rot over time.
4) Post Placement
Set up 4×4 posts at your desired height, keeping in mind the hole depth. Place them one at a time—having a helper can make this easier. Instead of adjusting hole depths to keep the posts level (which is a lot of work), dig them to a similar depth and trim the tops after they’ve set for 24 hours. This saves effort and ensures a uniform height. Also, don’t forget to seal the tops to prevent rain damage and extend their lifespan. Taking these steps will make the job easier and help your posts last longer.
5) Pour the quick-drying concrete mix
Before pouring the concrete, use a post level to make sure the post is straight and at the right height. Double-check everything before you start. Then, pour in the concrete and mix it with water as directed. Keep checking with the level while it sets to ensure the post stays upright.
Another option is to mix the quick-set concrete in a bucket or wheelbarrow first, then pour it into the hole. Also, keep using a string to make sure all the posts line up properly. This will help your project look neat and sturdy.
6) Proceed with Post Settings
Set all the posts in place before moving forward. To keep them steady while the concrete dries, use temporary braces for support. The concrete will need at least 24 hours to harden, so be patient and let it set properly.
How to Install a Wood Fence
1) Preparing Rails: Measure and Cut
These are the horizontal boards (we recommend using 2x4s) that connect the wooden fence posts. They run across the posts and provide support for attaching the main fence boards. To install them, measure the space between the posts, cut the boards to the right size, and secure them in place. The number of rails you need depends on the height of your fence—usually two or three. These rails help keep your wooden fence strong and stable, so take your time measuring and cutting to make sure they fit well.
2) Build Your Rail Frame
First, grab a 1×4 board and cut it to match the height of your posts. Next, decide where you want your rails to go and mark those spots on the board. Once marked, attach the 1×4 flat against the ends of the top and bottom rails using nails. If needed, you can also secure it in the middle for extra support. When properly attached, the rails should form a T-shape with the 1×4 when viewed from the side. You’ll see the narrow 1-inch edge of the 1×4 and the wider 4-inch side of the 2×4. Repeat this step for each end of the rail.
2) Attach the frame securely.
Place the frame between the posts so it fits nicely. Then, use deck screws to attach it from the inside edge into the posts. Make sure to use rust-proof screws and hardware to prevent rust stains from forming on the fence over time. Rust can make the fence look bad and weaken it, so using the right materials will help it last longer and stay in good shape. Take your time to line everything up before tightening the screws to ensure a strong and secure fit.
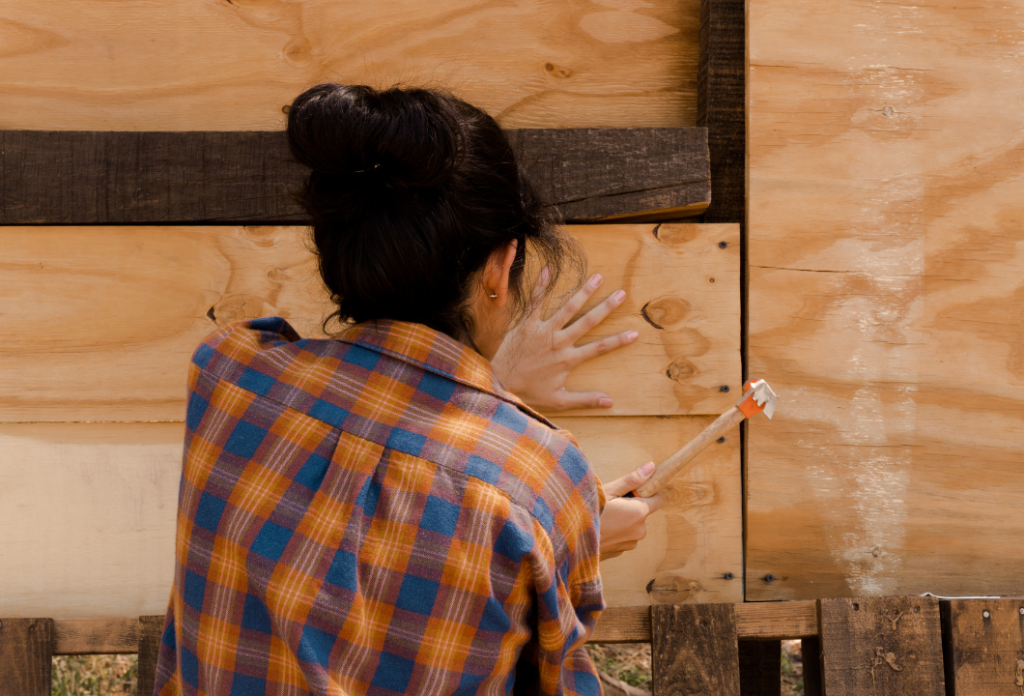
3) Attach the outermost wooden slats or pickets.
You can use slats or pickets of any width you like, but make sure they’re no thicker than 1 inch. Attach them to the rails with 2-inch screws or nails (or something similar). To keep everything even, place a spacer between each board as you go. The gap between them should be just a little smaller than the width of the boards. Keep repeating this process along the entire length of the fence until it’s fully covered. This method will help you create a neat and uniform look while making sure the boards are evenly spaced and securely attached.
4) Attach the inner pickets or wooden slats.
Now, attach the boards to the inside of the fence. Make sure to place them so they cover the gaps between the boards on the outside. This will help make the fence more private and sturdy. Take your time to line them up straight and secure them well. Check that everything looks even and neat as you go. When you’re finished, step back and make sure there are no gaps and everything is in place. This will give your fence a nice, clean look while also making it stronger.
5) Attach a gate.
If you want easy access to your yard, you might consider adding a fence gate. It’s completely up to you! A gate can make it more convenient to enter and exit without having to go around. If you decide to install one, you can follow the step-by-step instructions linked here. They’ll guide you through the process to ensure your gate is secure and works smoothly. Whether you choose to add a gate or not, make sure your wooden fence suits your needs and provides the right balance of privacy and accessibility for your space.
6) Wrap up with final details.
Now that you’ve finished this step, you’re free to paint or stain your fence in any color you like. If you want to add a bit more style, you can install a decorative top to give it a unique touch. Another great option is to plant some shrubs along the bottom of the fence. This not only enhances the look of your yard but also adds a bit of natural beauty and privacy. Whether you go for a bold color, a classic wood stain, or some greenery, these finishing touches will make your fence stand out and complement your space.
Conclusion
Putting up a wood fence might seem like a big job, but with the right steps, anyone can do it—even if you’re a beginner! By planning ahead, picking the right wood, setting your posts properly, and securing the panels, you can build a strong and good-looking fence that will last for years. Don’t forget to seal, stain, or paint it to keep it protected from the weather.
A well-built fence not only adds privacy and security but also makes your yard look great. Take your time, follow the steps, and enjoy the process. Before you know it, you’ll have a fence you can be proud of!


