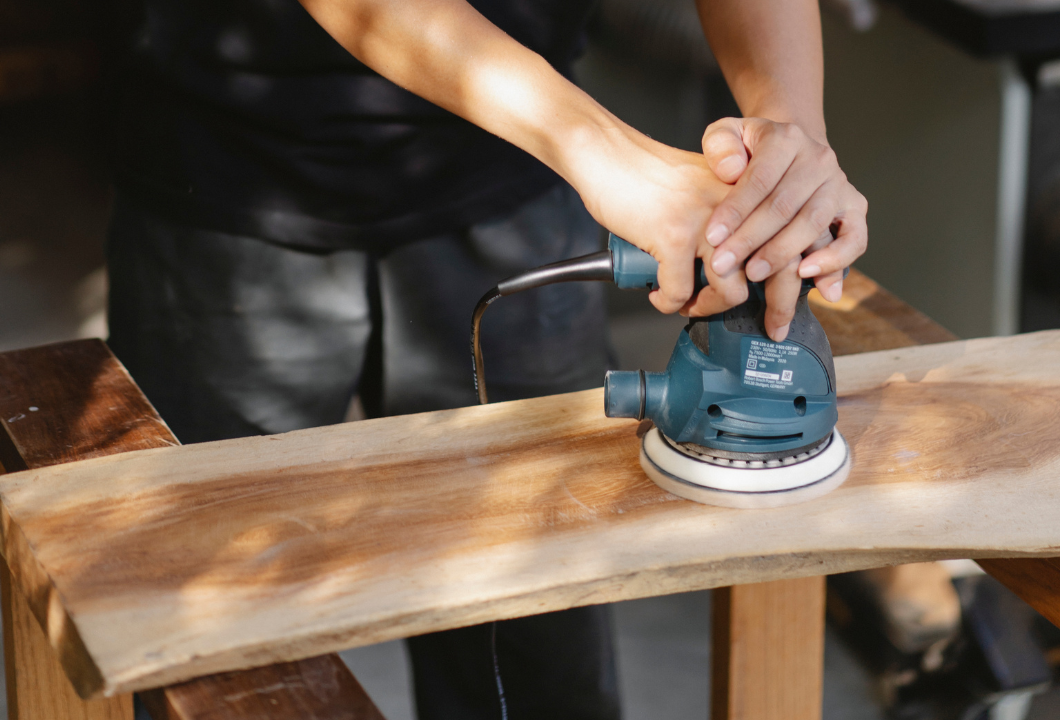
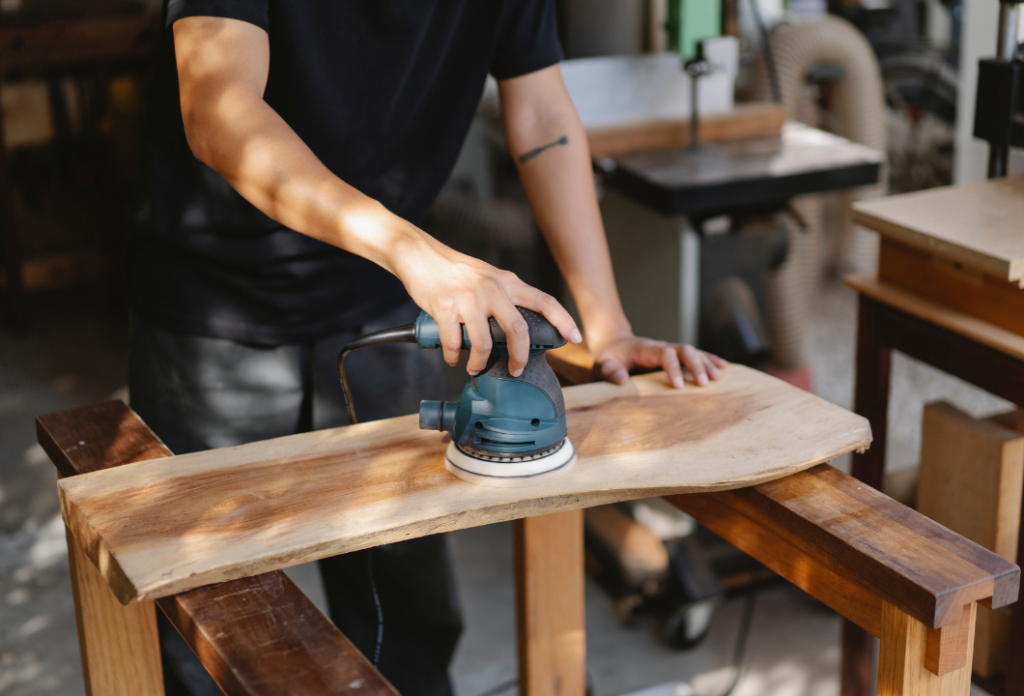
An orbital sander is a tool that helps smooth surfaces using sandpaper. It’s designed to move the sandpaper quickly, either handheld or attached to a workbench. Most sanders for woodworking run on electricity, while ones used for car repairs often use air power. There are different types of sanders made for different jobs, so you can choose the one that fits your project. Some tools, like electric drills, even come with sander attachments to make them more versatile. It’s a super useful tool for all kinds of smoothing work!
Orbital sanders are great for making surfaces super smooth, whether it’s wood, plastic, or metal. Besides giving a polished finish, they’re also handy for stripping off things like paint, varnish, stain, or polyurethane. They’re perfect for getting items ready for a fresh new look!
Table of Contents
What is the best use of orbital sander?

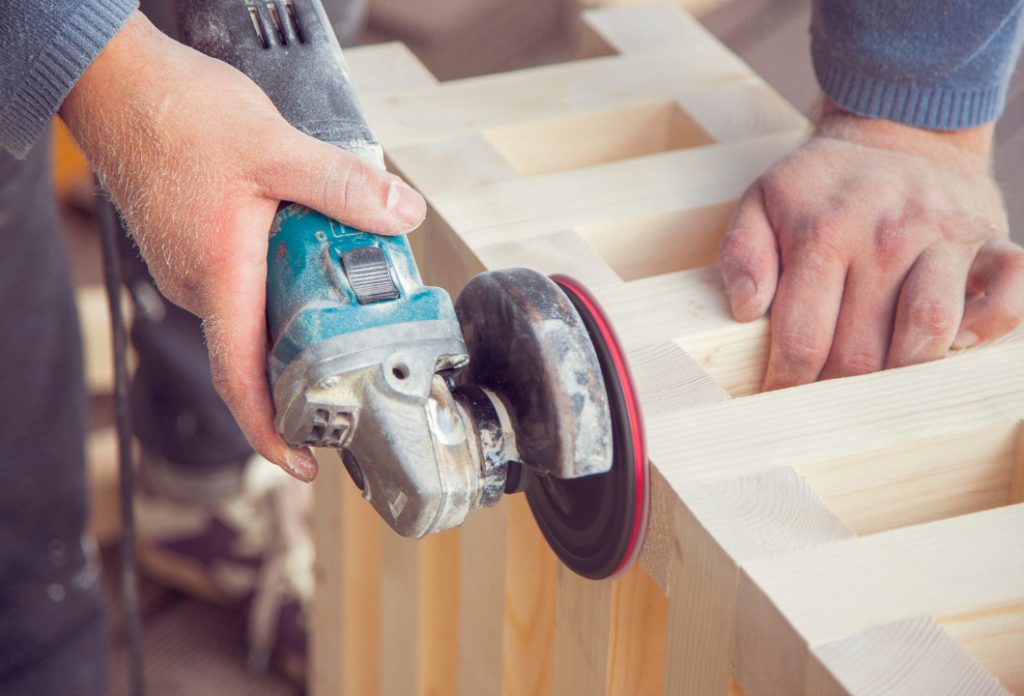
Orbital sanders are amazing tools for smoothing surfaces like wood, plastic, and metal. They’re especially handy for small or curved projects and work wonders when it comes to detailed finishing. You can use them for a variety of tasks, like leveling and smoothing flat or curved surfaces, hiding dents and scratches, and cleaning up rough edges on joints from carpentry or welding. They’re also perfect for prepping surfaces before polishing or waxing, stripping off old paint or rust, and giving a flawless final finish. If you’re planning to paint or varnish, an orbital sander helps smooth everything out for that perfect coat.
To get the best results, make sure to hold the sander flat with even pressure. For tougher jobs, use a coarse 40-grit disc, and for polishing, go with a fine 400-grit disc. Between paint or varnish coats, ultra-fine sandpaper is your best friend for a smooth finish. With an orbital sander, achieving professional-looking results becomes so much easier!
Use of orbital sander
What is an orbital sander used for? There are many different applications, like:
1. Furniture Making
You don’t need to be a professional to use an orbital sander on your furniture. These sanders are perfect for wood because they don’t leave those ugly streaks other sanders can. Whether you’re building something new or fixing up an old piece, an orbital sander will help you get a smooth surface for painting or staining. It’s super easy and makes the job go faster, leaving you with a nice finish.
2. Cabinet Making
Cabinet making is a little more detailed than regular furniture. Cabinets have a lot of parts that need to fit together well. Orbital sanders make this process easier by helping smooth out the joints where pieces meet. If you’re building cabinets, this tool will help everything fit perfectly and look great, whether it’s for your kitchen or bathroom.
3. Building Staircases
Building a staircase? You’ll definitely want an orbital sander. It’s great for smoothing out all the edges and tricky corners quickly. When you’re working on stairs, it’s important to have a smooth, clean finish, and orbital sanders make that job a whole lot easier and faster. They help you get everything done right, so your stairs look professional.
4. Toy Making
Believe it or not, you can use an orbital sander for toys! If you’re making wooden, plastic, or metal toys, these sanders are awesome for smoothing out the edges. Just make sure you pick the right size sander for your toy. Smaller toys need smaller sanders, and bigger toys need a bit more power. With the right tools, you’ll end up with toys that are smooth and safe for little ones to play with.
5. Removing Rust or Paint
If you’re working on something that’s old and rusty or covered in paint, an orbital sander can help you strip it all off. It’s perfect for prepping surfaces, whether you’re dealing with rust on metal or old paint on wood. This tool saves you time and effort, and makes getting things ready for a fresh coat of paint or finish way easier.
6. Refinishing Hardwood Floors
Refinishing hardwood floors is a big job, but an orbital sander makes it so much easier. If your floors are scratched up or just look a little worn, this tool helps smooth everything out. Start with a rough grit to take off the old finish, and then move to finer grits to get everything nice and smooth. In no time, your floors will look fresh and new again.
How to Use an Orbital Sander?
Before you start your project, there are a few things to keep in mind. When using an orbital sander, make sure to apply even pressure across the pad. This helps avoid any divots or swirl marks on the surface you’re working on.
Also, always wear a dust mask and protective glasses to stay safe. Work in a space with good ventilation, and don’t forget to empty the dust bag in your sander before you start.
Now, let’s see how an orbital sander works in action!
Choose the Right Sandpaper
The first step before using your orbital sander is picking the right sandpaper. Sandpaper comes in different grit levels, and the grit number tells you how smooth or rough it is. Higher grit numbers are smoother, and lower grit numbers are rougher. Here’s a simple guide:
- Extra Fine (320-400 grit): Good for sanding between coats of finish.
- Fine (180-220 grit): Use this if you’re planning to add stain, paint, or finish after sanding.
- Medium (120-150 grit): Great for removing paint or stain.
- Coarse (60-80 grit): Best for rough, uneven surfaces.
Attach the Sandpaper
Now that you’ve picked your sandpaper, it’s time to attach it to your sander. Some sanders use a hook-and-loop system (like Velcro), and others use adhesive. Just line up the sandpaper with the base and make sure it’s properly attached, especially with the dust removal holes.
Test Your Sander
Before you start sanding your project, give your sander a test run. Turn it on and grab a piece of scrap wood or another material to test it on. Move the sander in small circles to make sure it’s working properly and that the sandpaper is secure.
Start Sanding
Now you’re ready to sand! You can move the sander in any direction, but it’s usually best to go with the grain of the material. Keep an eye on your sandpaper because it might get clogged with dust or old finish. If you notice any buildup, it’s time to check or change the sandpaper.
Make sure the whole sanding pad stays flat on the surface. It’s okay to use the edge, but using the whole disc helps give you a smoother finish. After you’re done, your surface should look nice and smooth! Enjoy the results of your hard work!
Benefits of Orbital Sander
Orbital sanders are super useful tools that can handle a bunch of tasks, like taking off paint or varnish and smoothing out rough spots. They’re loved by both DIYers and pros.
Why Orbital Sanders Are Great
They’re Versatile
You can use them for lots of things, from heavy sanding to fine-tuning. They work on wood, metal, plastic, and more.
Smooth Finish
Orbital sanders give you a nice, smooth finish on different materials like wood, metal, and plastic.
Great for Edges
They’re perfect for sanding along baseboards and getting into tight corners.
No Swirl Marks
One of the best things about these sanders is that they leave fewer swirl marks, so your surfaces stay looking nice and clean.
Keeps Your Area Clean
Most orbital sanders come with a dust collection feature to help keep things tidy and safe while you work.
Less Risk of Gouging
Because of how they’re designed, orbital sanders are less likely to leave gouges on your surface, making your job easier.
Prep Work Made Easy
You can use them to remove old paint, varnish, rust, or other finishes, so your surface is ready for the next step.
Conclusion
To sum it up, an orbital sander is a super useful tool for sanding, smoothing, and finishing projects. Whether you’re working on furniture, taking off paint, or polishing surfaces, it gets the job done fast and well. It works on different materials like wood, metal, and drywall, so it’s great for both DIYers and professionals. Just pick the right sandpaper and use it correctly, and you’ll get smooth results in less time. It’s definitely a must-have for anyone who wants to improve their project’s finish!


