
Introduction
Siding installation is more than just a cosmetic upgrade for your home—it’s a crucial investment in its longevity and resilience against the elements. Whether you’re embarking on a renovation project or constructing a new home, the choice and installation of siding can significantly impact both the aesthetic appeal and structural integrity of your property.
However, diving into siding installation can feel overwhelming without proper guidance. That’s where this comprehensive guide comes in. We’ll walk you through the essential steps, from selecting the right siding material to executing the installation with precision and care. By the end, you’ll feel empowered to take on this rewarding home improvement endeavor and elevate your home’s exterior to new heights. So, let’s get started with siding installation today, and embark on a journey to enhance the beauty, durability, and value of your home.
Choosing the Right Siding Material
The first step in any siding installation project is selecting the right material. With a variety of options available, including vinyl, wood, fiber cement, and metal, it’s essential to consider factors such as durability, maintenance requirements, cost, and aesthetic appeal. Vinyl siding, for example, is affordable and low-maintenance, making it a popular choice among homeowners. Wood siding offers a classic look but requires more upkeep to prevent rot and decay. Fiber cement siding combines the durability of cement with the versatility of wood, while metal siding provides excellent protection against fire and insects.
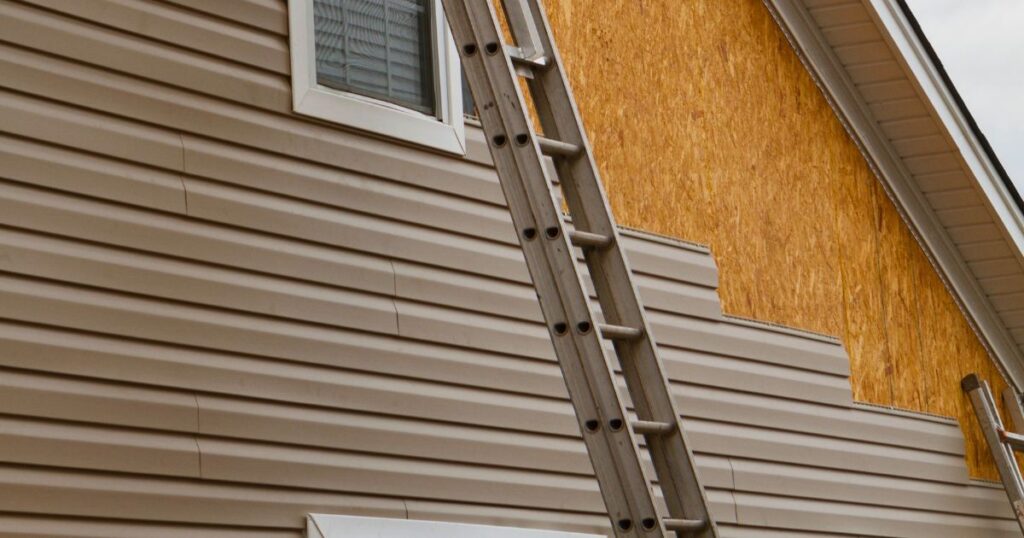
Preparing Your Home for Siding Installation
Once you’ve chosen the appropriate siding material, it’s time to prepare your home for installation. This involves removing any existing siding, repairing any damaged areas of the exterior, and ensuring that the surface is clean and smooth. Depending on the condition of your home and the type of siding you’re installing, you may also need to add insulation or a vapor barrier to improve energy efficiency and moisture resistance.
Gathering the Necessary Tools and Materials
Before you begin the installation process, make sure you have all the tools and materials you’ll need on hand. This typically includes siding panels, trim pieces, nails or screws, a level, a saw, a hammer or nail gun, and safety equipment such as gloves and goggles. Depending on the complexity of the project, you may also need additional tools such as a siding cutter or a scaffold.
Installing the Siding
With everything prepared, it’s time to start installing the siding. Begin by measuring and cutting the first panel to fit, ensuring that it’s level and properly aligned with the rest of the house. Use nails or screws to secure the panel to the wall, making sure to leave a small gap at the top to allow for expansion and contraction. Continue this process, overlapping each panel slightly to create a seamless appearance. Pay close attention to corners, windows, and doors, using trim pieces to finish off edges and ensure a professional-looking result.
Finishing Touches and Maintenance
Once the siding is installed, take the time to add any finishing touches, such as caulking around windows and doors or painting trim pieces to match the rest of the house. Regular maintenance is also essential to keep your siding looking its best and protecting your home from the elements. This includes cleaning the surface periodically to remove dirt and debris, inspecting for any signs of damage or wear, and making repairs as needed.
Conclusion
Siding installation is a rewarding home improvement project that can enhance the appearance and value of your property while providing essential protection against the elements. By choosing the right material, properly preparing your home, and following the correct installation techniques, you can achieve professional results that will stand the test of time. So why wait? Get started with siding installation today and transform your home into the envy of the neighborhood.


