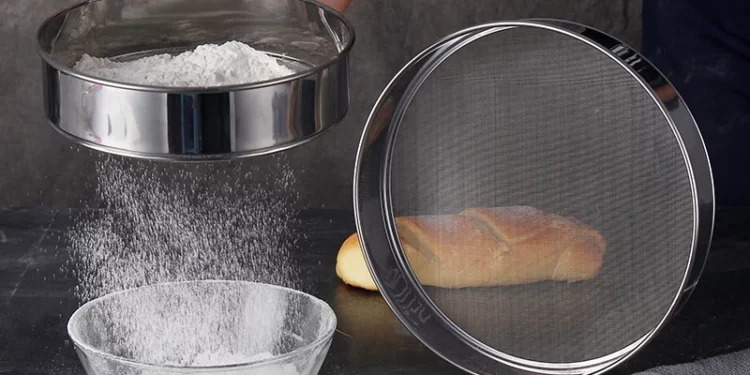
Baking enthusiasts understand the importance of precision in their craft, and one essential tool that contributes to achieving that perfection is the flour sifter. A flour sifter ensures that your dry ingredients are free from lumps and well-aerated, resulting in a smoother and more consistent texture in your baked goods. However, to maintain the effectiveness of your flour sifter, regular cleaning is crucial. In this guide, we will take you through the step-by-step process of How to Clean a Flour Sifter, ensuring it stays in top condition for your culinary endeavors.
Read more about Microwave Over Fridge Convenience
Materials Needed
Before diving into the cleaning process, gather the following materials:
- Flour sifter
- Dish soap
- Warm water
- Soft brush or toothbrush
- Paper towels or clean cloth
- Small bowl
- Toothpick or a small, pointed tool
How to Clean a Flour Sifter
Begin the cleaning process by disassembling your flour sifter. Most traditional sifters can be easily taken apart into two main components: the screen and the mechanical parts, including the handle and gears. Carefully detach these components to ensure a thorough cleaning.
Remove Excess Flour
Hold the screen over a trash bin or sink and tap it gently to remove any excess flour. You can also use a small brush or your fingers to loosen any stubborn bits of flour clinging to the screen. This initial step helps prevent clogs in the drainage holes and makes the cleaning process more effective.
Rinse with Warm Water
Place the screen under warm running water to rinse off the remaining flour. Use your fingers or a soft brush to gently scrub the screen, paying attention to the mesh and corners where flour residue tends to accumulate. Avoid using hot water, as it may cause the flour particles to congeal, making it harder to clean.

Soak in Soapy Water
Fill a small bowl with warm water and add a few drops of mild dish soap. Submerge the disassembled parts of the flour sifter in the soapy water, allowing them to soak for 10-15 minutes. This will help loosen any stubborn residue and make it easier to clean.
Scrub the Mechanical Parts
While the screen is soaking, use a soft brush or toothbrush to scrub the mechanical parts of the flour sifter. Pay attention to the gears, handles, and any crevices where flour might have accumulated. Gently scrub away any residue, being careful not to damage the delicate components.
Clean the Screen
After soaking, take the screen out of the soapy water and use the brush or toothbrush to scrub away any remaining residue. For hard-to-reach areas, a toothpick or a small, pointed tool can be handy. Rinse the screen thoroughly under warm water to remove any soap residue.
Dry and Reassemble
Pat the cleaned parts dry with paper towels or a clean cloth. Allow them to air dry completely before reassembling the flour sifter. Ensure that every part is dry to prevent the formation of mold or mildew.
Conclusion
How to Clean a Flour Sifter regularly, cleaning your flour sifter is essential for maintaining the quality of your baked goods and ensuring the longevity of this indispensable kitchen tool. By following these simple steps, you can keep your flour sifter in top condition, ready to deliver perfectly sifted ingredients for your culinary creations. Incorporate this cleaning routine into your baking habits, and you’ll enjoy the benefits of a well-maintained flour sifter for years to come. Happy baking!


